To make an IP core reusable, we will need customization parameters which the user can change.
In this tutorial we learn
- How to edit an IP core from your top-level project.
- How to add a parameter to the Verilog code.
- How to add a customization parameter to the customer-facing GUI.
- How to update the top-level project.
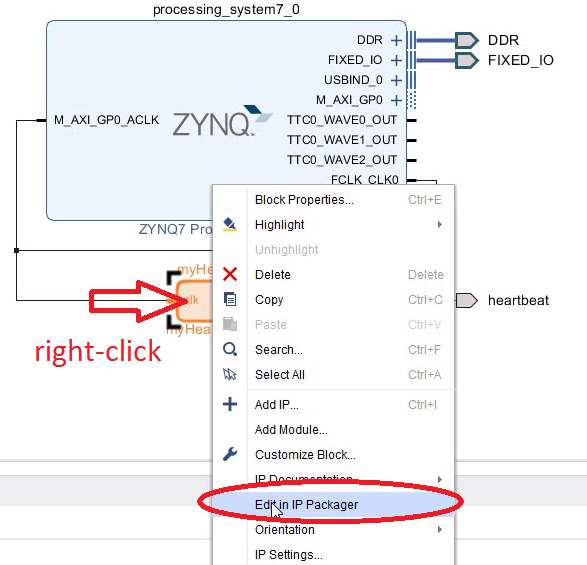
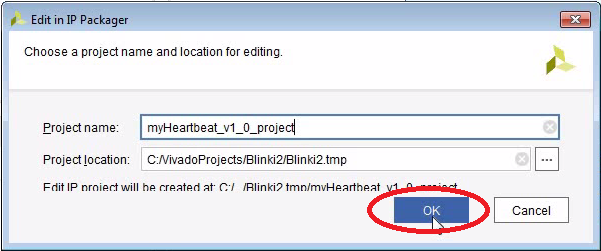
Edit the IP Core in IP Packager
- Start using the Blinki project from here
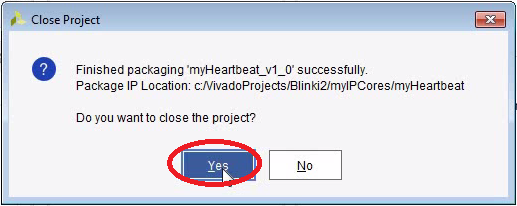
- Vivado creates a temporary project to edit the IP core. This project will be deleted afterwards.


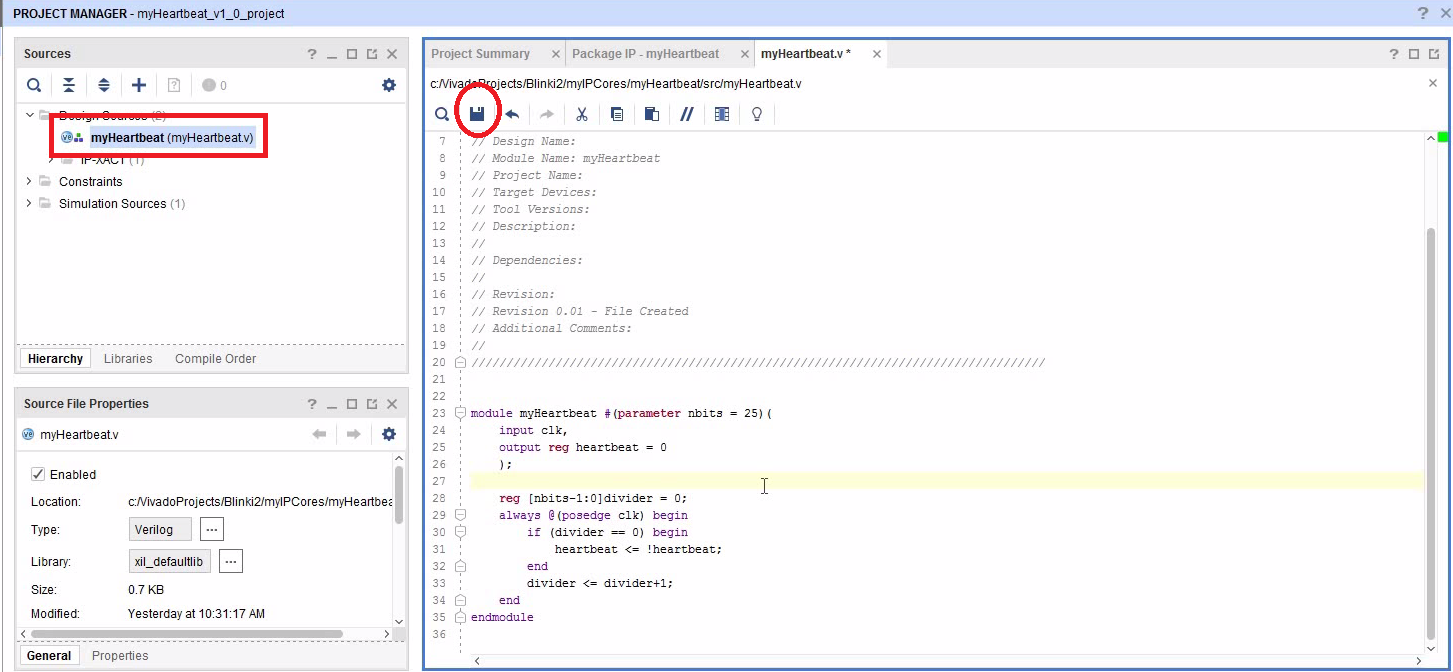
Modify the Verilog Code
- We are adding the parameter nbits which defines the number of bits in the prescaler.
- In Verilog, this is done by using “#” after the module name.
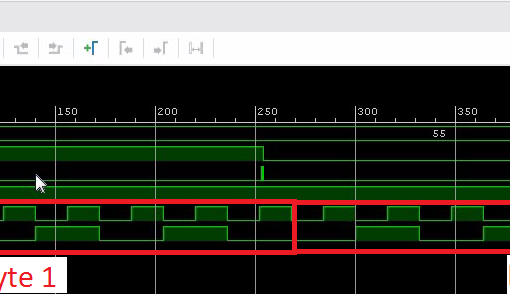
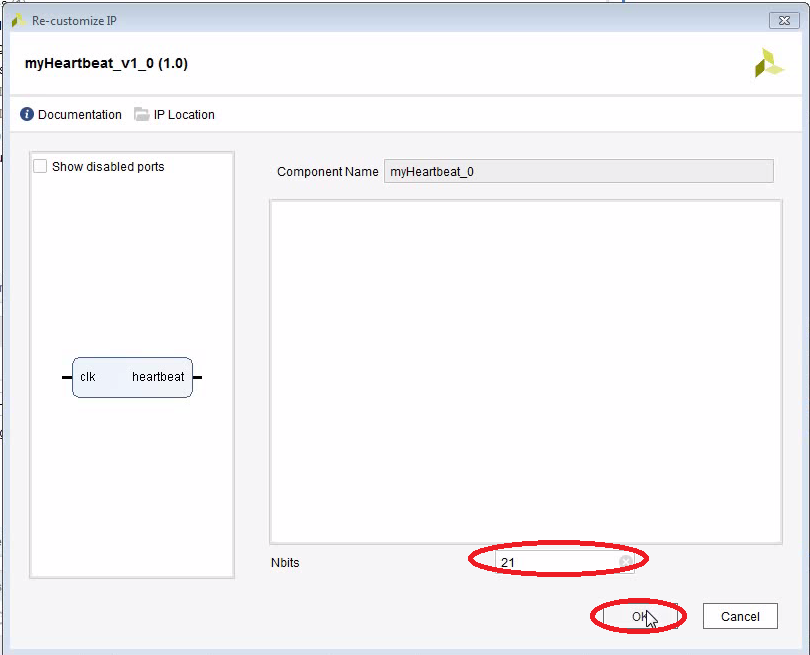
- Reduce the number of bits and the LED will flash faster. Anything less than 21 will be too fast to perceive.

module myHeartbeat #(parameter nbits = 25)(
    input clk,
    output reg heartbeat = 0
    );

    reg [nbits-1:0]divider = 0;
    always @(posedge clk) begin
        if (divider == 0) begin
            heartbeat <= !heartbeat;
        end
        divider <= divider+1;
    end
endmodule
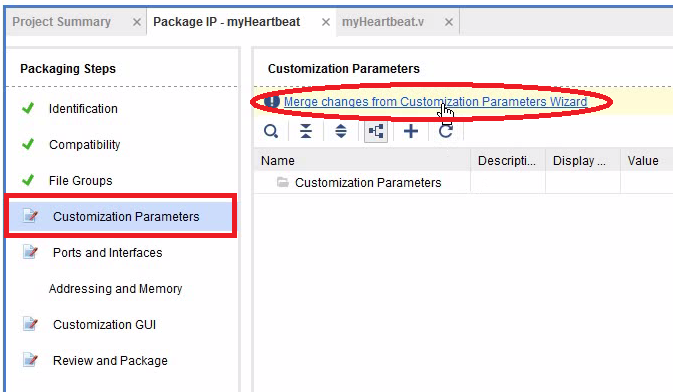
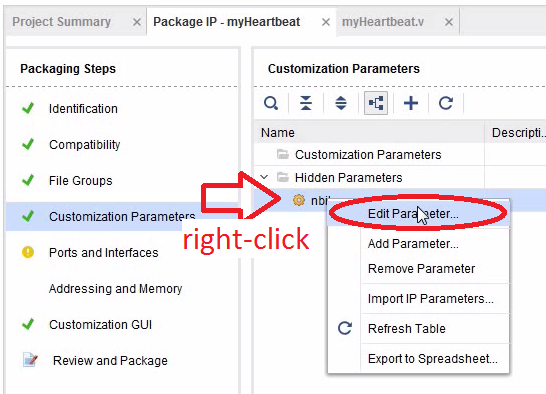
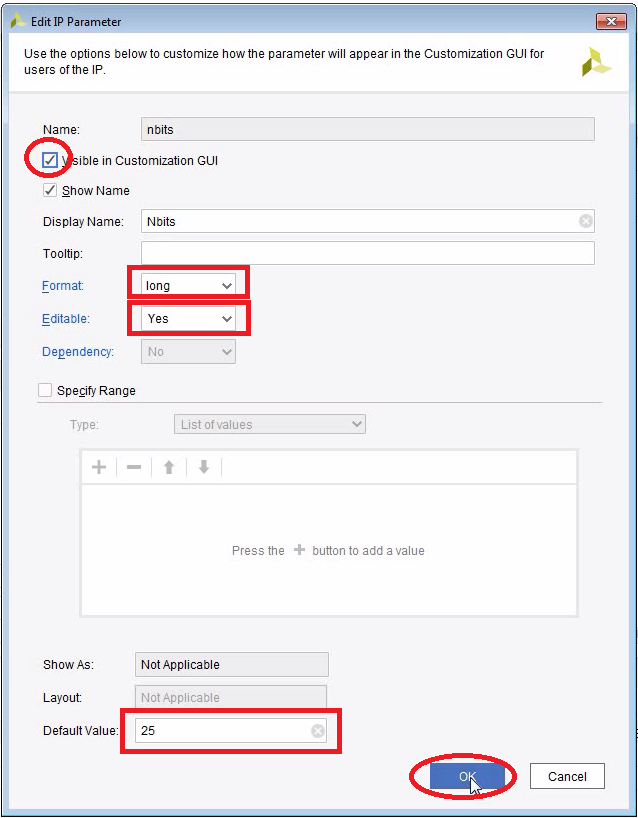
Import Parameters into the GUI
- Looks like you need to click on “Merge changes from Customization Parameters Wizard”. This re-imports the Verilog file and makes the parameter appear under “Customziation Parameters”
- Hint: Adding it manually by clicking on the “+” sign didn’t work for me.


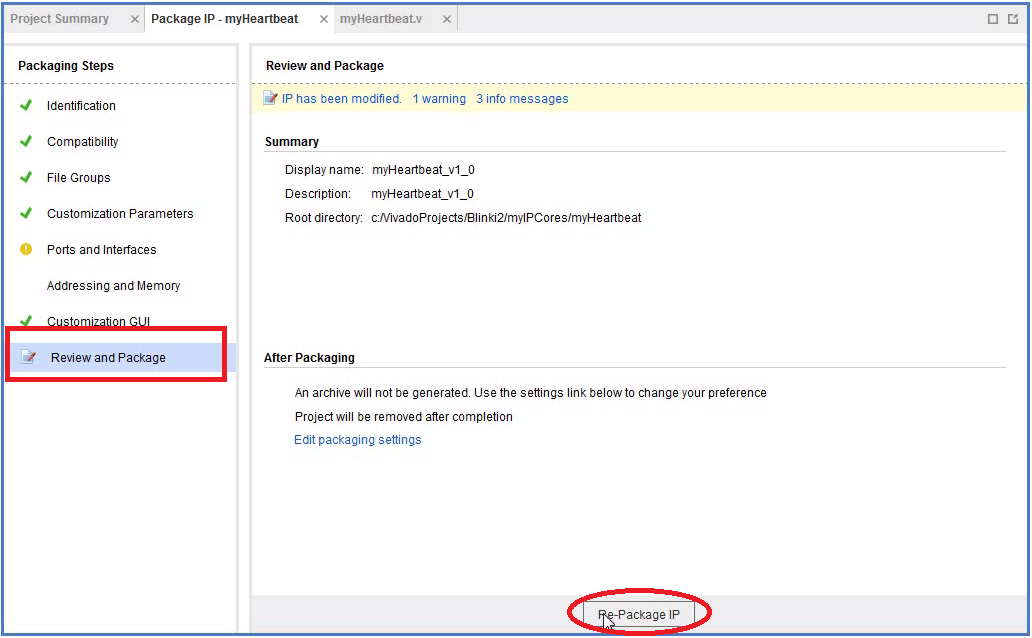
Re-Package the IP Core


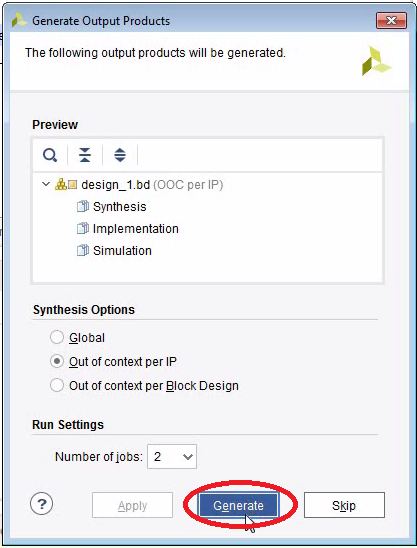
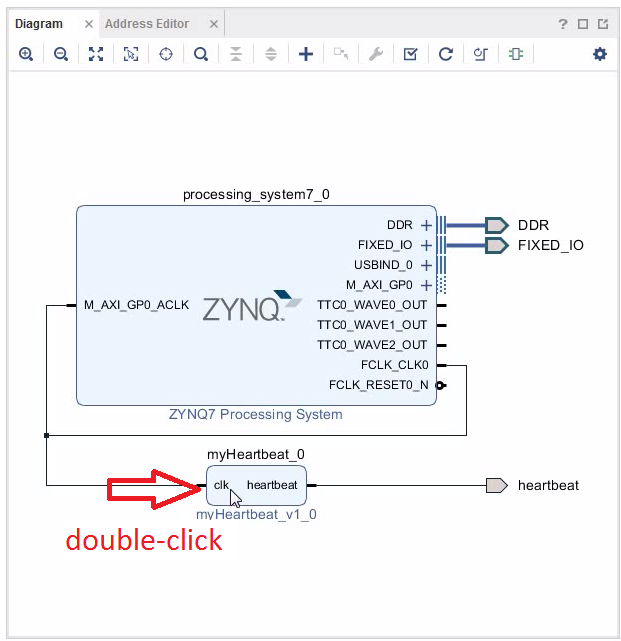
Upgrade the IP Core in the Top-Level Project


Change the Number of Bits


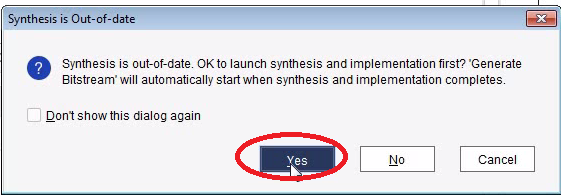
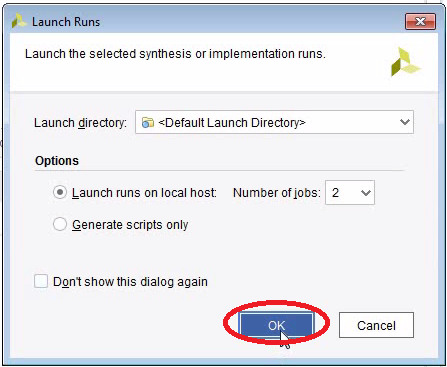
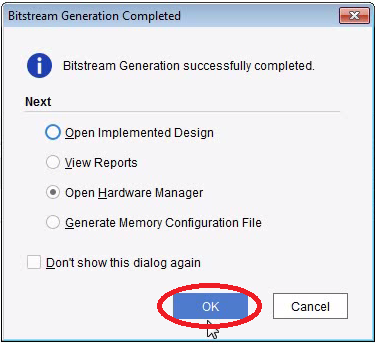
Upload the Bitstream
Follow the instructions here to upload the bitstream.
