In a previous post, we made a simple WAV file player. That demo used a fixed sampling rate of 39kHz which resulted from simply dividing the 100MHz system clock. Now let’s use the standard audio sampling rates of 44.1kHz or 48kHz. In order to achieve this, we need to use the PLL which comes with the audio codec. That also means, we need to change our I2S transmitter to “slave mode” and the codec to “master mode”. In this mode, the codec generates BCLK and LRCLK while the I2S transmitter listens to both signals and presents the data on sdata.
In this tutorial we learn:
- How to change our I2S transmitter to slave mode.
- How to enable the PLL in the audio codec and change to master mode.
- How to adjust the volume using the audio codec.
Using the PLL
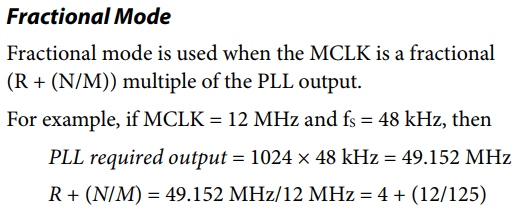
For details on using the PLL refer to the ADAU1761 datasheet. We are using the Fractional Mode of the PLL to derive the sampling rate:
The PLL settings are given by X, R, N and M. Here is a simple Excel spread sheet to calculate the parameters: PLL_Calculation
- The MCLK signal, which we are generating using the pre-scaler IP core, divides the system clock by 10 (100MHz to 10MHz).
- These are the parameters for 44.1kHz: X=1, R=4, M=2001, N=1032.
- These are the parameters for 48.0kHz: X=1, R=4, M=1002, N= 917.
- After activating the PLL we need to wait until the PLL is locked. This is done by polling the lock-bit until it is set to 1.
- It seems important to wait another 10 ms after enabling the core clock. Otherwise BCLK and LRCLK remain dead. I found it in an example code here:
https://github.com/logicbricks/driver_alsa_logii2s/blob/master/test/app_i2s_test_linux/adau1761.c - Here is the LInux kernel driver:
https://git.kernel.org/pub/scm/linux/kernel/git/torvalds/linux.git/tree/sound/soc/codecs/adau17x1.c?id=HEAD
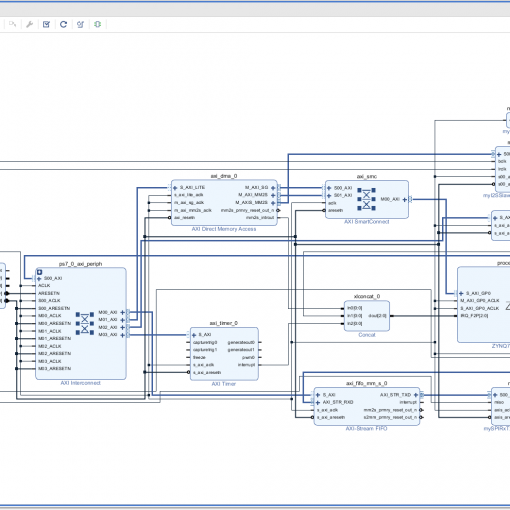
The IP-Core we are Using

Open the Main Project
- Start with the project from this post. Or download the complete project further down.
- Copy the IP core myI2SSlave_1.0 into ./SPIRxTxDemo.ipdefs/myIPCores_0_0_0_0
- You might have to make Vivado aware that there is a new IP core. Go to “Settings” and click “Refresh All” in the IP Repositories tab:

- Open the block design and remove the myI2STx IP core. Also, remove the bclk and lrclk port. Those ports will change from output to input.
- Add myI2SSlave.
- Connect the AXI stream interface S00_AXIS to M_AXIS_MM2S of the DMA controller.
- Connect sdata of the IP core to the sdata port.
- For bclk and lrclk of the IP core: Right-click and select “Make External”.
- Now run the Connection Automation to connect the AXI clock and reset.
- Save the block design
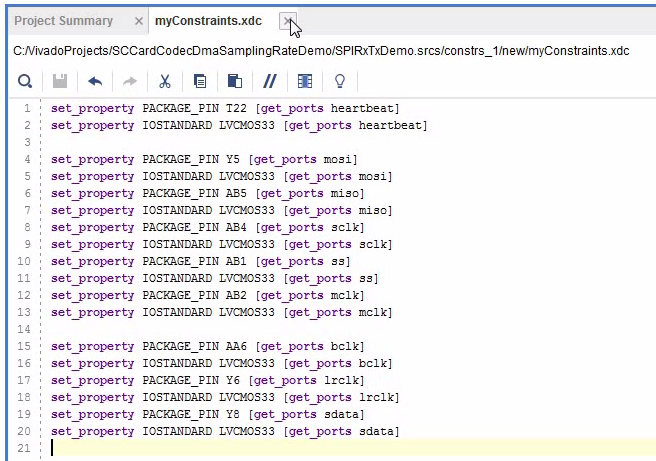
- Open the constraints file and remove all definitions for the debug cores. This is how the constraints file should look like:
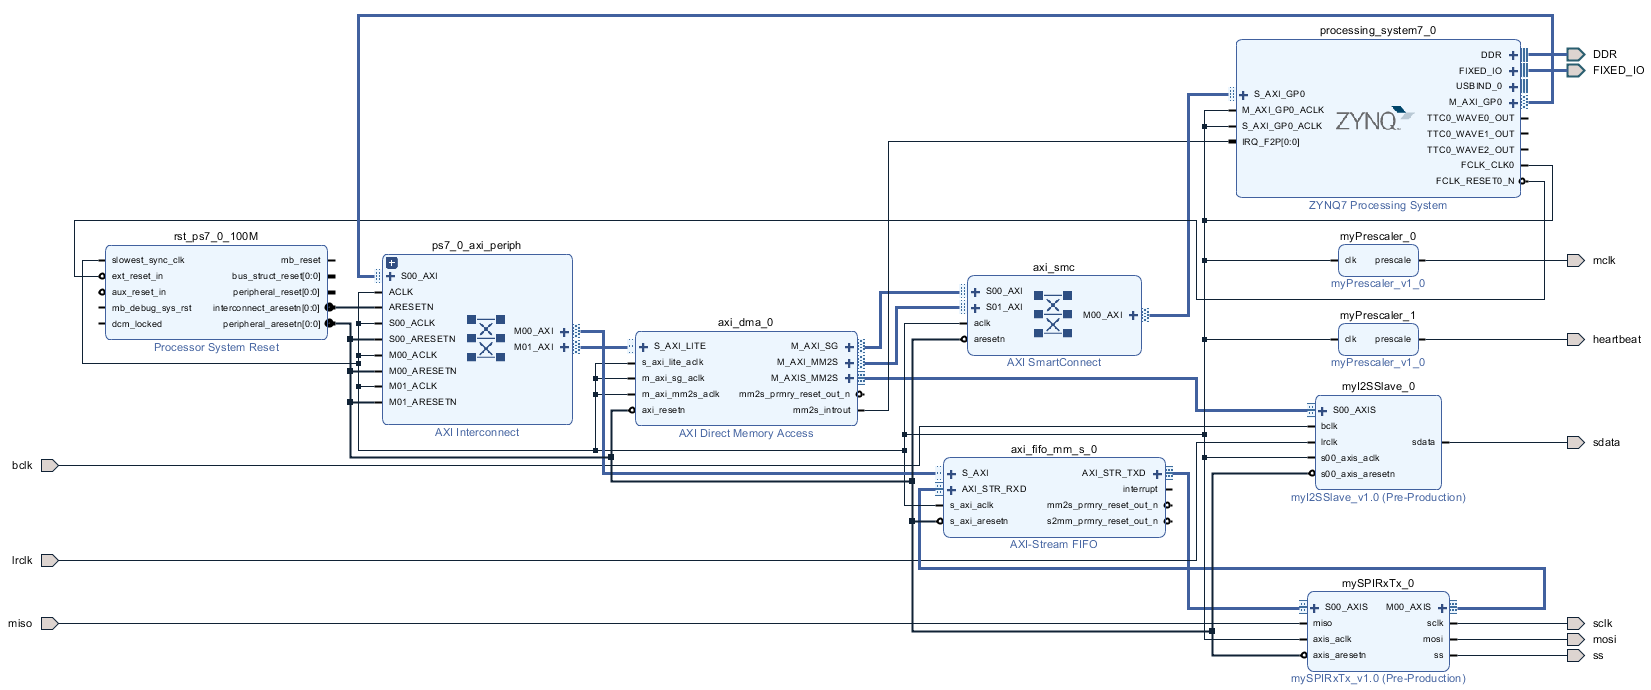
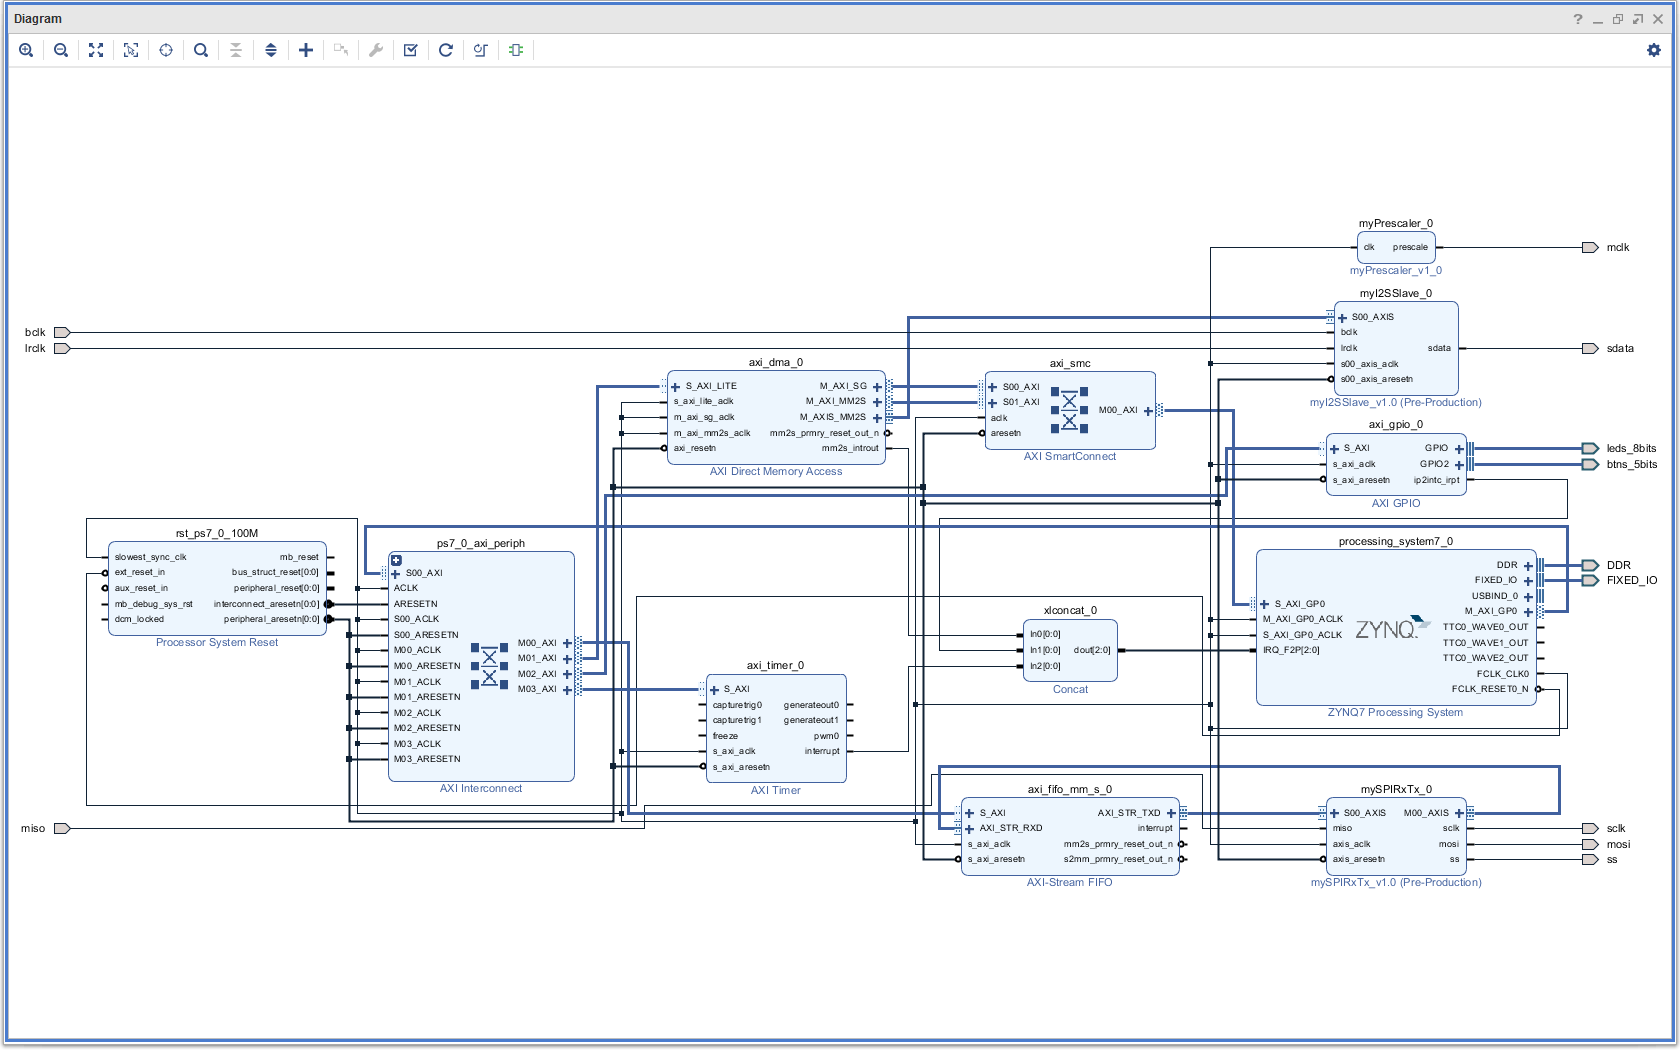
The Complete Block Diagram
Create the Bitstream
- Generate the bitstream.
- Open the Implementation.
- Now is a good time to launch the SDK. I encountered problems occasionally that the SDK creates a new system wrapper project. Normally there is a project named design_1_wrapper_hw_platform_0. I then have two of those. The second one named design_1_wrapper_hw_platform_1. I found the best way to resolve this was to remove both (!) projects and delete the files (you can right-click and select “Delete”). Then close SDK, export the hardware again and re-launch SDK. The project will be regenerated.
- Export Hardware (including bitstream).
Modify the C-Code
- If you haven’t done so, launch the SDK.
- You might want to check if the right UART driver is selected (refer to “SDK Auto Update Bug“).
- Here is the full modified code (helloworld.c):
- Run the program with an SD card inserted:
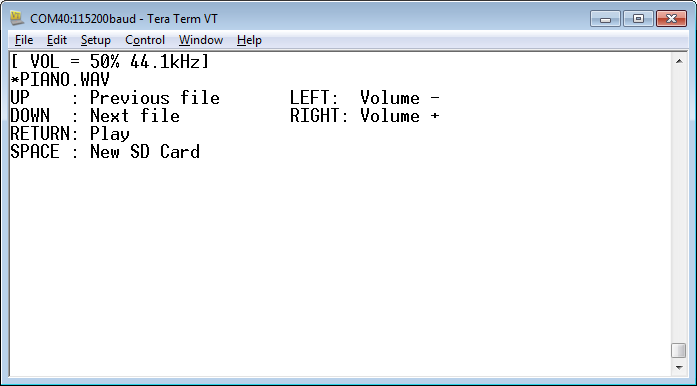
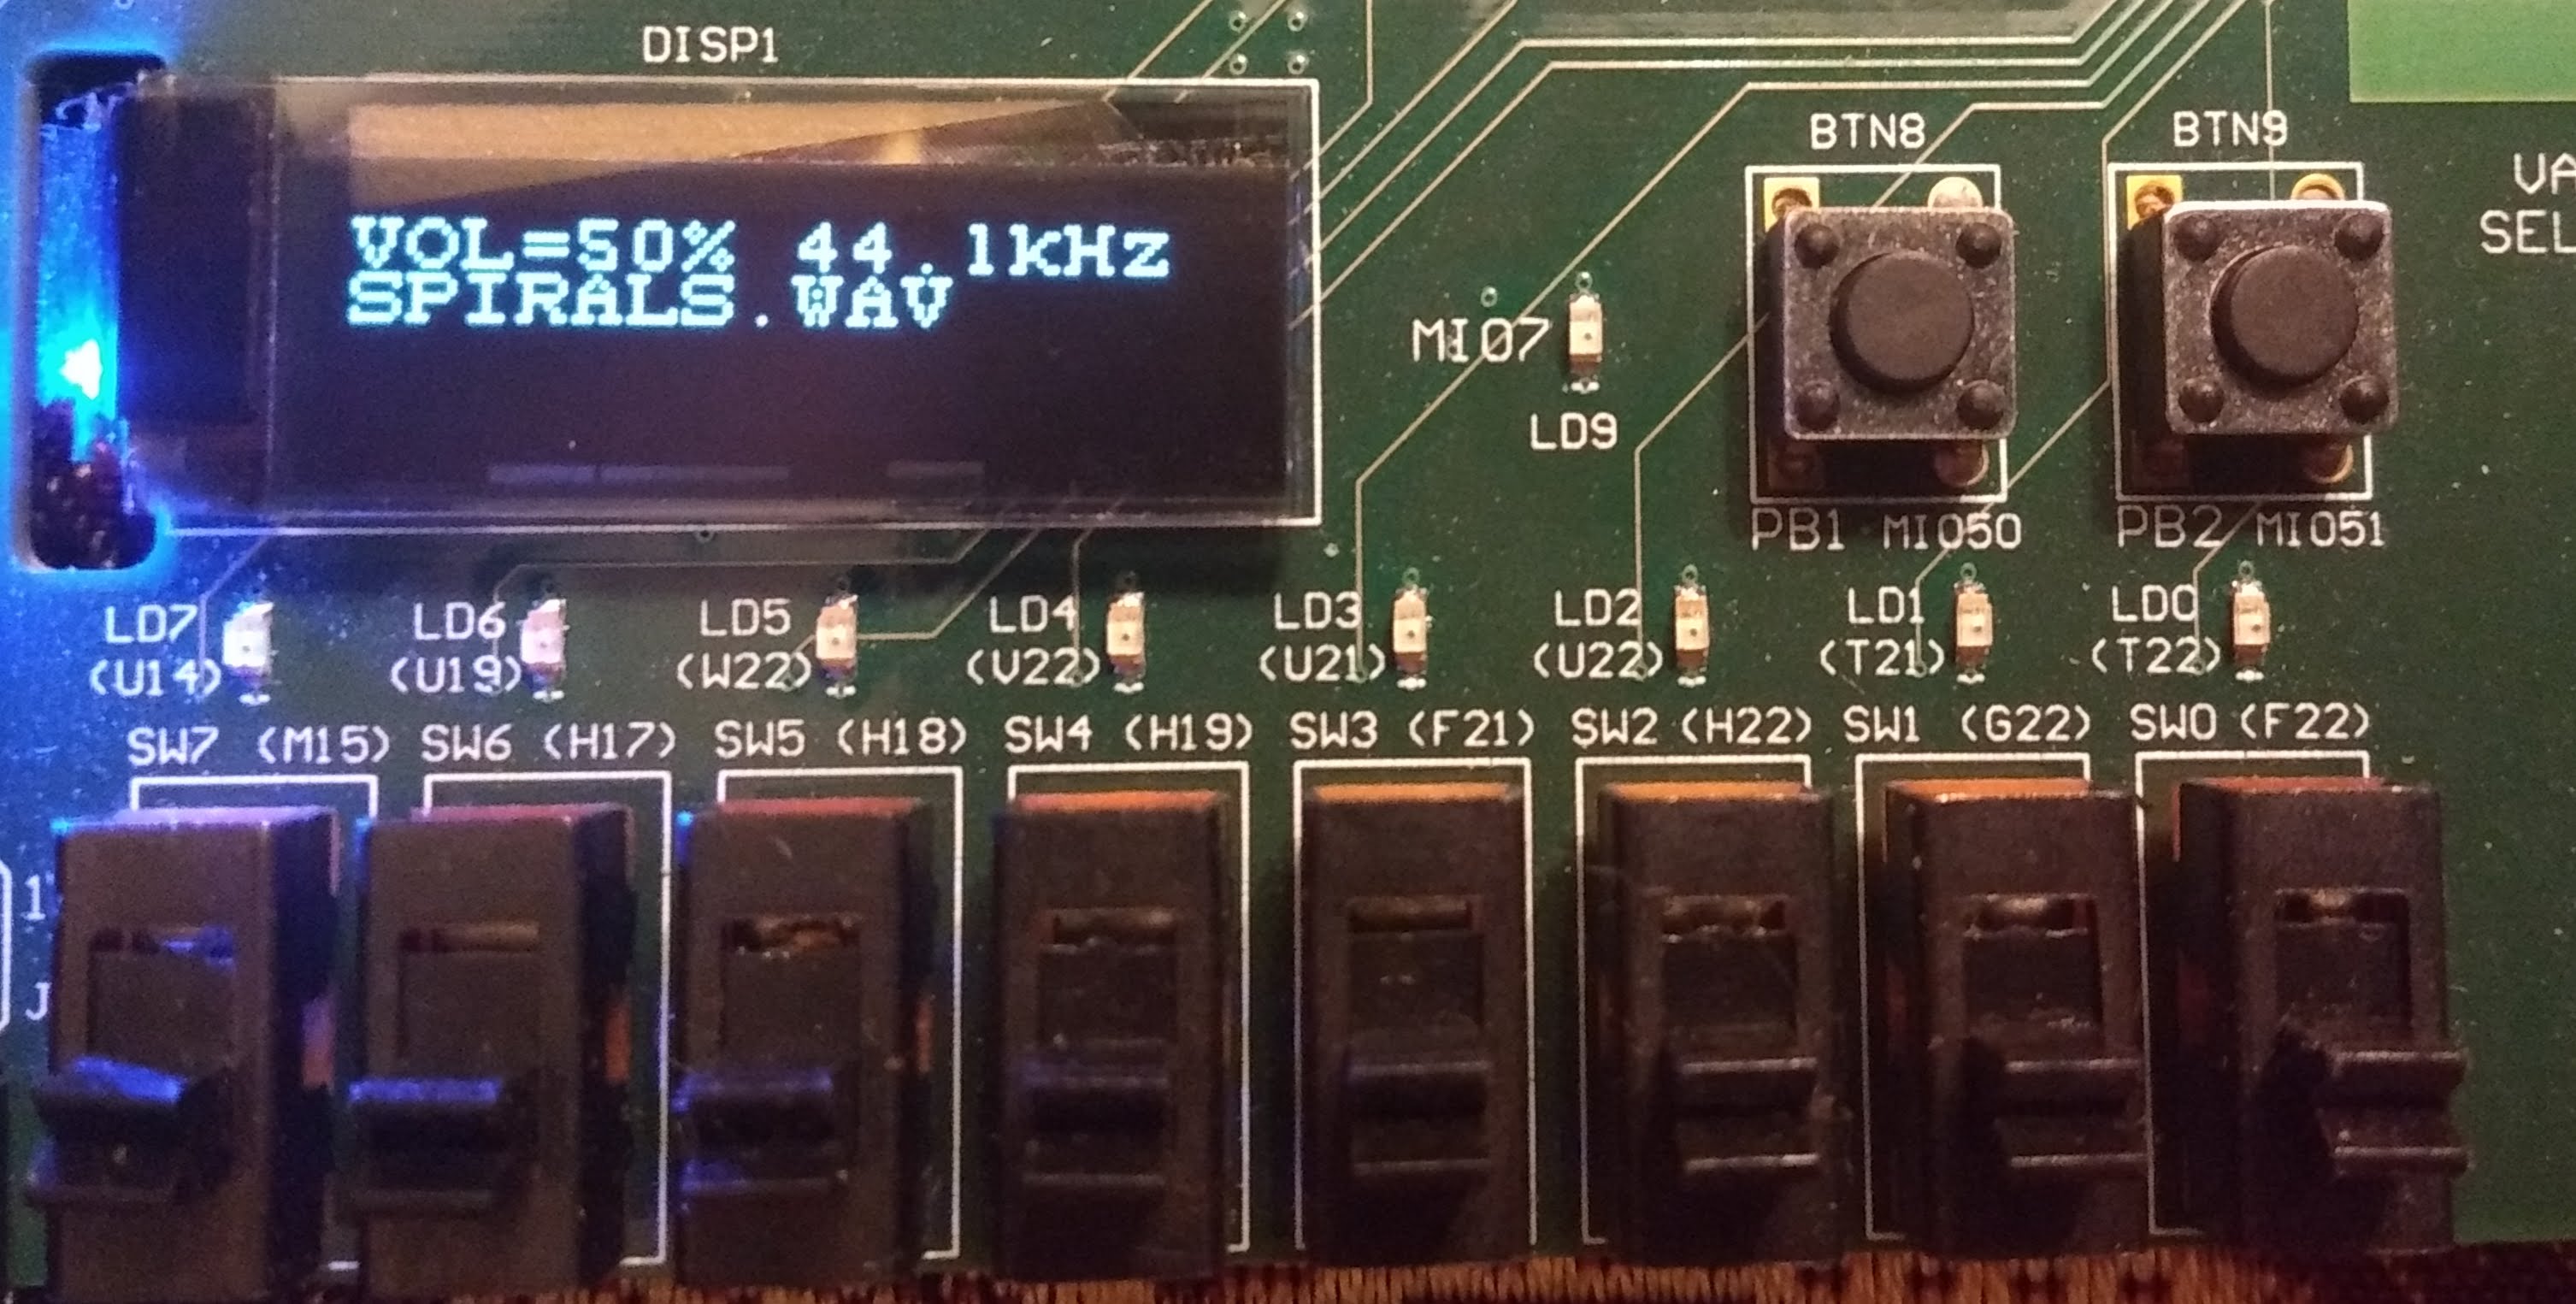
- Note that another change in the program is that we are now using the volume control of the codec instead of modifying the actual samples.
- The software tries to figure out which sampling rate is best suited for the WAV file. If the WAV file has a sampling rate of 192kHz, for example, a base sampling rate of 48kHz would be best since we then can decimate the sampling data by 4 (48kHz x 4=192kHz). In that case 44.1kHz would be ill suited.
Download the Complete Project
- Here is a WAV file which I have tested (from the Youtube Audio Library):
- piano.wav
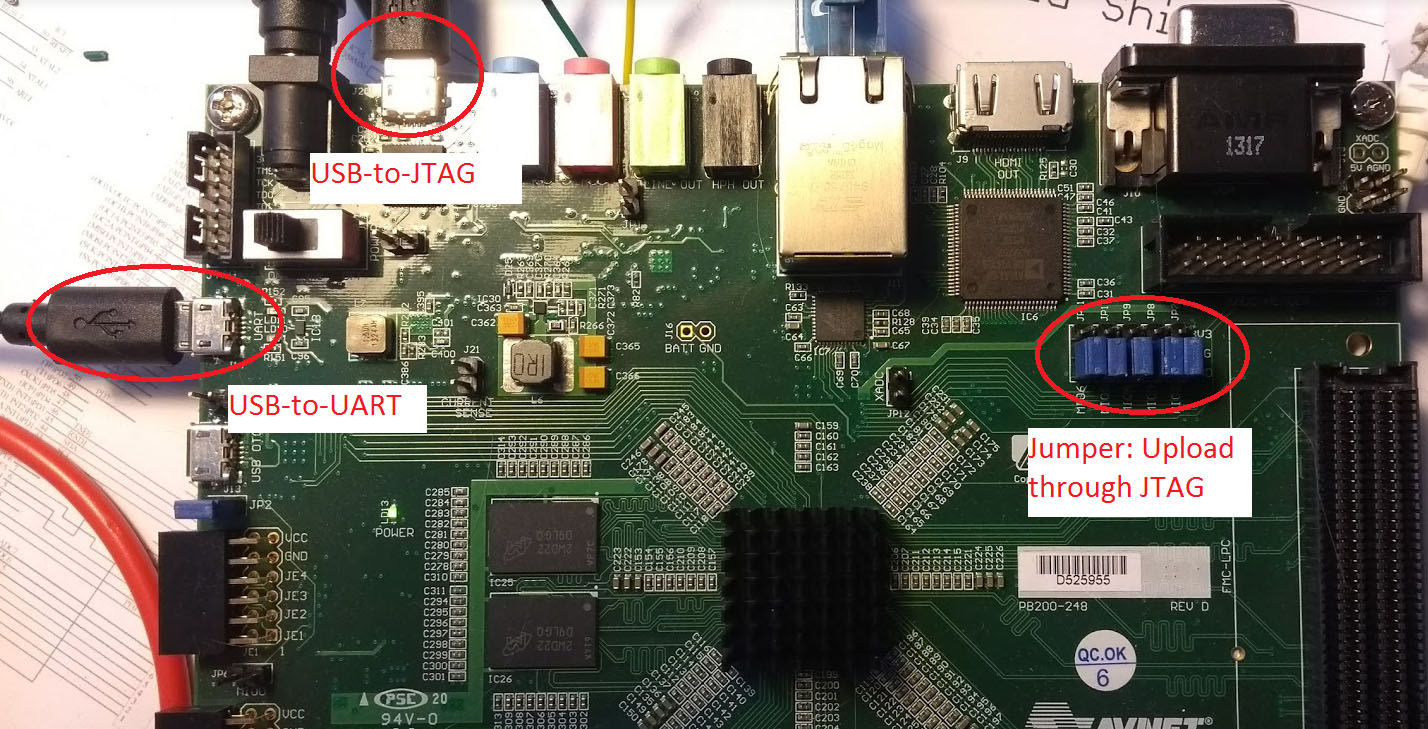
Piano March by Audionautix is licensed under a Creative Commons Attribution license (https://creativecommons.org/licenses/by/4.0/). Artist: http://audionautix.com/ - To upload the software to the Zedboard, open the project in Vivado, then click on “Launch SDK”.
- There seems to be a bug when updating the SDK project which selects a wrong UART driver (refer to “SDK Auto Update Bug” to fix it).
- Select the project CodecDMADemoOneshot and click “Run” (the “play” button at the top of the window).
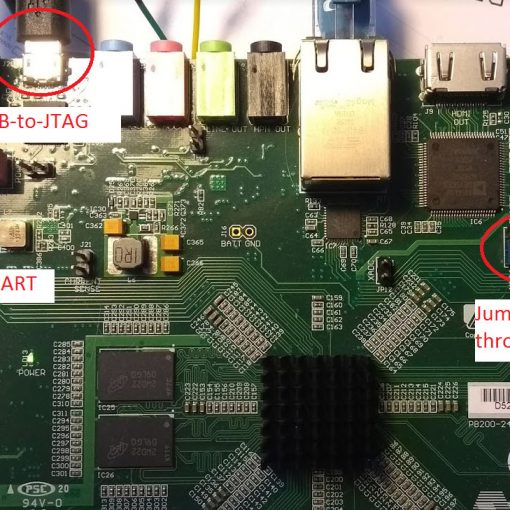
Boot from SD Card
Follow this quick hint if you want to boot this software from SD card:
Next: Progress Update of Ongoing DMA Transfers Using Interrupts
Having the DMA controller running in the background is very comfortable. But how do you get progress updates? The best way is to use interrupts triggered by the DMA controller.
ZYNQ: Progress Update of Ongoing DMA Transfers Using Interrupts
